A Simple 68HC11 Tutorial
EE 5340/7340 Biomedical Instrumentation
Electrical Engineering Dept.
Southern Methodist University
This tutorial should help get you started with assembly language as well as with learning to use the Buffalo monitor and debugger. Start by typing in the following program, “prog1.asm” using the notepad text editor:
ORG
$2000
x_dat FCB 1 data
to be added together
FCB 2 begins at location x_dat
= $2000
FCB 3
FCB 4,5,6
sum RMB 1 reserve
a byte for the sum
ORG $2100 program
starts here (location $2100)
CLRA clear
acc A
LDX #x_dat X points to first number (immediate)
LDAA 0,X first
number in acc A (indexed)
INX X
points to next number
again ADDA 0,X add next number to acc A (indexed)
INX increment
pointer
CPX #sum see if X points to sum location (immediate)
BNE again if
not, add next number (relative)
STAA sum store acc A in sum
(extended)
RTS
END
Make sure the labels begin in column 1. The program is a simple assembly language program that adds the numbers “1, 2, 3, 4, 5, and 6” starting at memory location x_dat = $2000 and writes their sum in memory location sum = $2006. The program illustrates the use of assembler directives ORG, FCB, RMB, and END, as well as addressing modes like immediate, extended, and indexed.
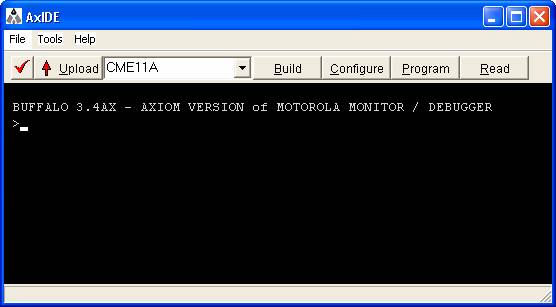
Make sure the Axiom EVM board is connected to the COM port on the PC and that a power supply is connected to the board. Bring up the AxIDE program and press the reset button on the board. The AxIDE window should look like this:
It is probably easier to run the assembler from a command prompt window. To this end, open a command prompt window and using DOS commands, navigate to the directory where your assembly language program “prog1.asm” is. Make sure that the path variable includes the directory where “as11.exe” is located (usually, it is “c:\AIDE3). The path variable can be edited in Windows XP by opening the System icon in the Control Panel and clicking on the “Advanced” tab. From the command prompt window, type:
as11 prog1.asm –l > prog1.lst
This assembles the program in “prog1.asm” and generates a program listing called “prog1.lst” which shows the memory locations and the op codes and data bytes that go in each location. The as11 assembler does not appear to be very sophisticated and doesn’t do much in the way of giving error information (too bad:-) Alternately, the program can be assembled using the “Build” button on the AxIDE dialog window. To load the program into the microcontroller, type the following command in response to the BUFFALO prompt (followed by ENTER):
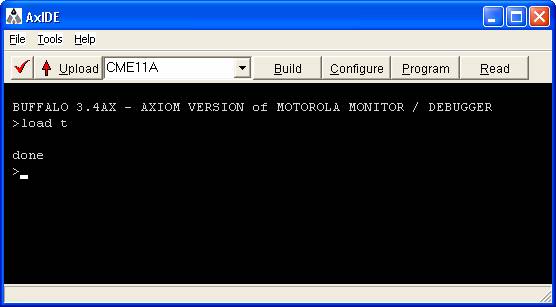
> load t
then click on the “Upload” button and select “prog1.s19” for uploading. Once the program has been uploaded you will see:
Next, set a breakpoint at the first memory location in the program by typing:
>BR 2100
Then run the program by typing:
>call 2100
This causes execution to start at memory location $2100, the program will immediately break and you will see:
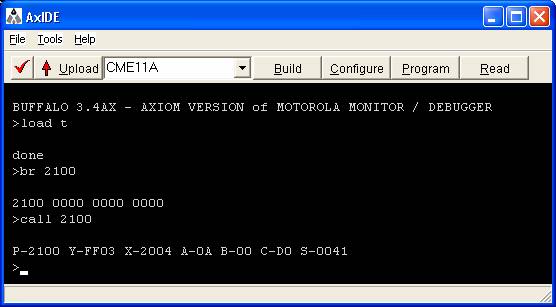
Next, by typing a series of “T” commands (case is unimportant) you can step through each line of code in the program. After each instruction, the state of the microcontroller appears (P, Y, X, A, B, C, S) = (program counter, Y register, X register, acc A, acc B, condition code register, and stack pointer).
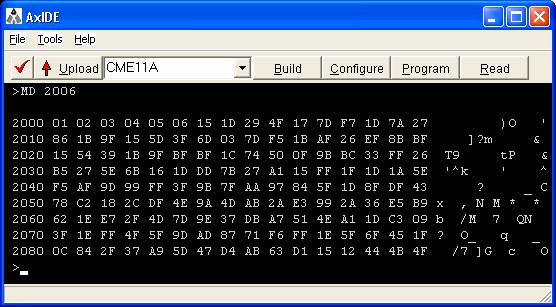
Carefully study what each instruction is doing. Once the program has finished, check the memory location corresponding to “sum” ($2006) by typing
>MD 2006
The correct memory locations should be displayed as follows:
Next type
>MD 2100
and verify that the correct OP codes are present by comparing with the program listing.